Getting started with Braze Pilot
This article covers how to get started using Braze Pilot. Here we’ll walk you through downloading the app, initializing the connection with your Braze dashboard, and completing the setup.
Step 1: Download Braze Pilot
To start using Braze Pilot, you’ll first need to download the app from either the Apple App Store or the Google Play Store app. You can search for the app in the app store or scan the QR codes below to visit the app page for your device.
Step 2: Accept the terms and conditions
Next, accept the terms and conditions, and then enter your work email into the form. Your email will be used for app usage analytics only and won’t be used for any marketing purposes.


Step 3: Initialize the connection with the Braze SDK
Braze Pilot enables you to initialize the Braze SDK against any Braze dashboard. Once the SDK is initialized, Pilot will start sending engagement data to Braze and allow you to trigger any messaging launched from that Braze dashboard.
There are two methods for configuring the SDK connection in Pilot: Demo QR codes and the setup wizard.
Method 1: Demo QR codes
Scan a QR code that includes all details required to initialize the SDK, create your user profile, and deep link you to a particular app simulation in Braze Pilot. Demo QR codes are rendered in the companion drawer for particular demo campaigns in your free trial.
| Pilot for Android | Pilot for iOS |
|---|---|
 |
 |
Method 2: Setup wizard
Follow a step-by-step guide for initializing the connection with your dashboard workspace from the App Settings page in your Braze dashboard.

This connection is workspace-specific. This means that if you initialize the connection from the demo workspace and then switch to the live workspace in your free trial dashboard, you’ll need to re-initialize the SDK from that workspace to receive any campaigns launched there.

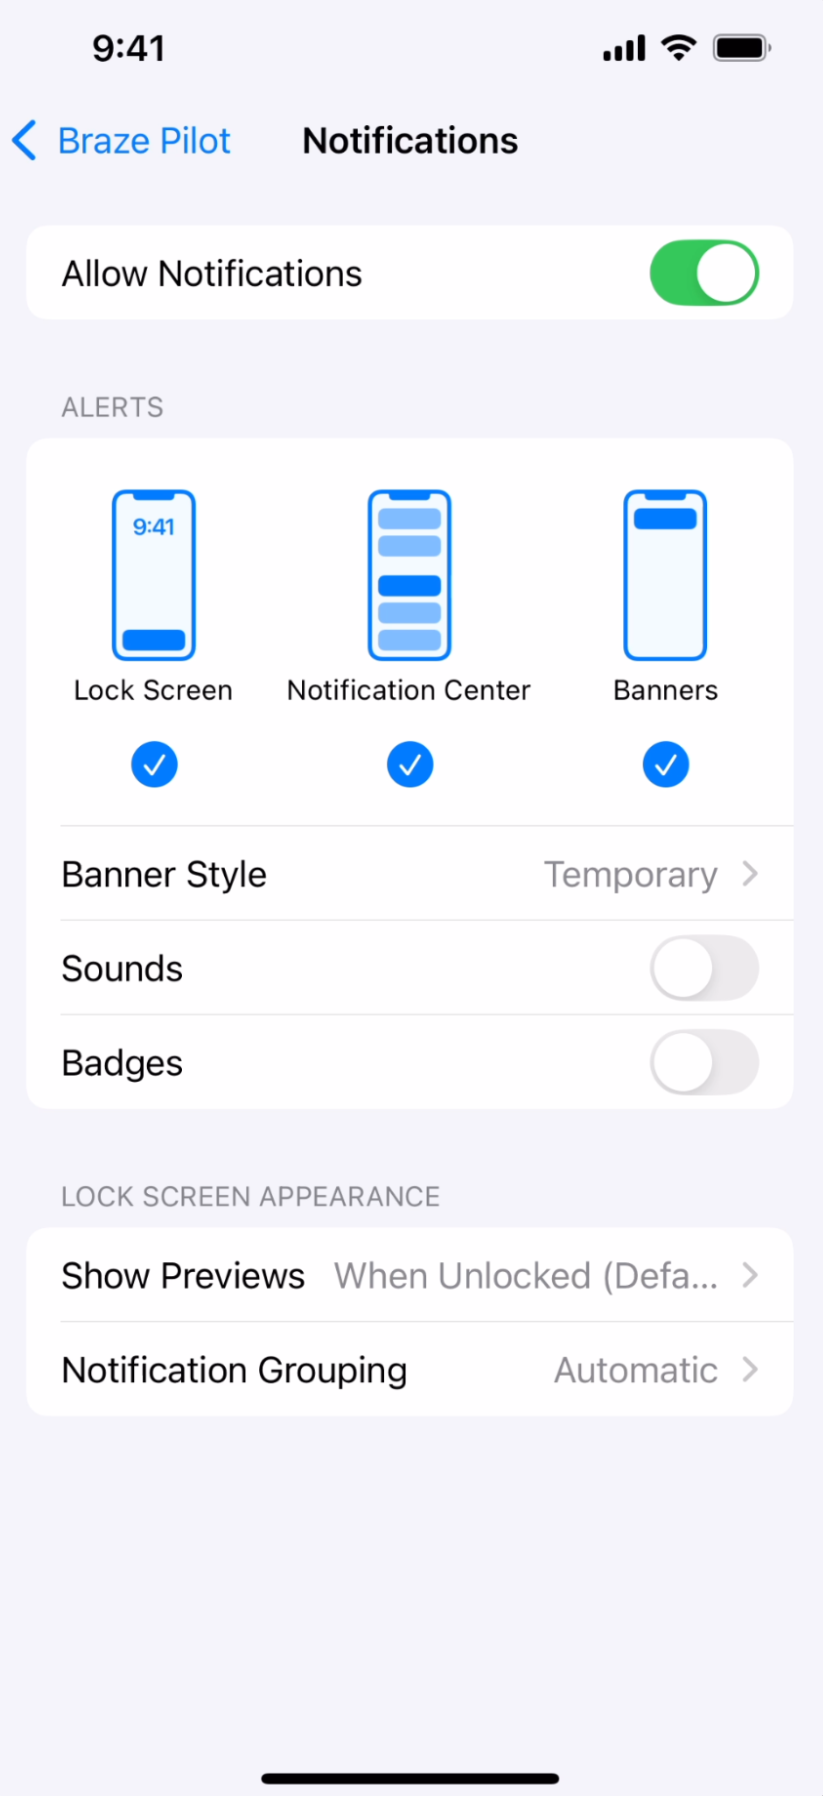
Step 4: Allow push permissions
Finally, it’s recommended that you allow the app to send you push permissions if you’d like to test push capabilities through the app. You can give the app these permissions in the following ways: updating the settings for the app in your device settings, or launching a push primer message from Braze to the app.
Open your device settings and locate Braze Pilot. Then, update the settings to allow notifications to appear on your lock screen.

Step 5: Experience Braze messaging in Pilot
Now you’re ready to start receiving campaigns and Canvases from your Braze dashboard as a user of Braze Pilot! Visit any of the launched campaigns in your demo workspace for a quick demo of Braze use cases, then head to your live workspace to get started sending your own.
For more on how to set up campaigns and Canvases in Braze, see Getting Started: Campaigns and Canvases.
 Edit this page on GitHub