Wyng
Wyng makes it easy to build interactive digital experiences (that is, quizzes, preference centers, promotions) that engage consumers at the right moments, collect preferences and other zero-party data, and personalize in real-time.
This integration is maintained by Wyng.
About the integration
The Braze and Wyng integration allows you to leverage zero-party data earned via Wyng experiences to personalize interactions in Braze Campaigns and Braze Canvas. Wyng can also power a preference center, so consumers can control the data and preferences (including communication preferences) they share with your brand.
Prerequisites
| Requirement | Description |
|---|---|
| Wyng account | A Wyng account is required to take advantage of this partnership. |
| Braze REST API key | A Braze REST API key with users.track permissions. This can be created in the Braze dashboard from Settings > API Keys. |
Integration
Step 1: Connect the Braze integration
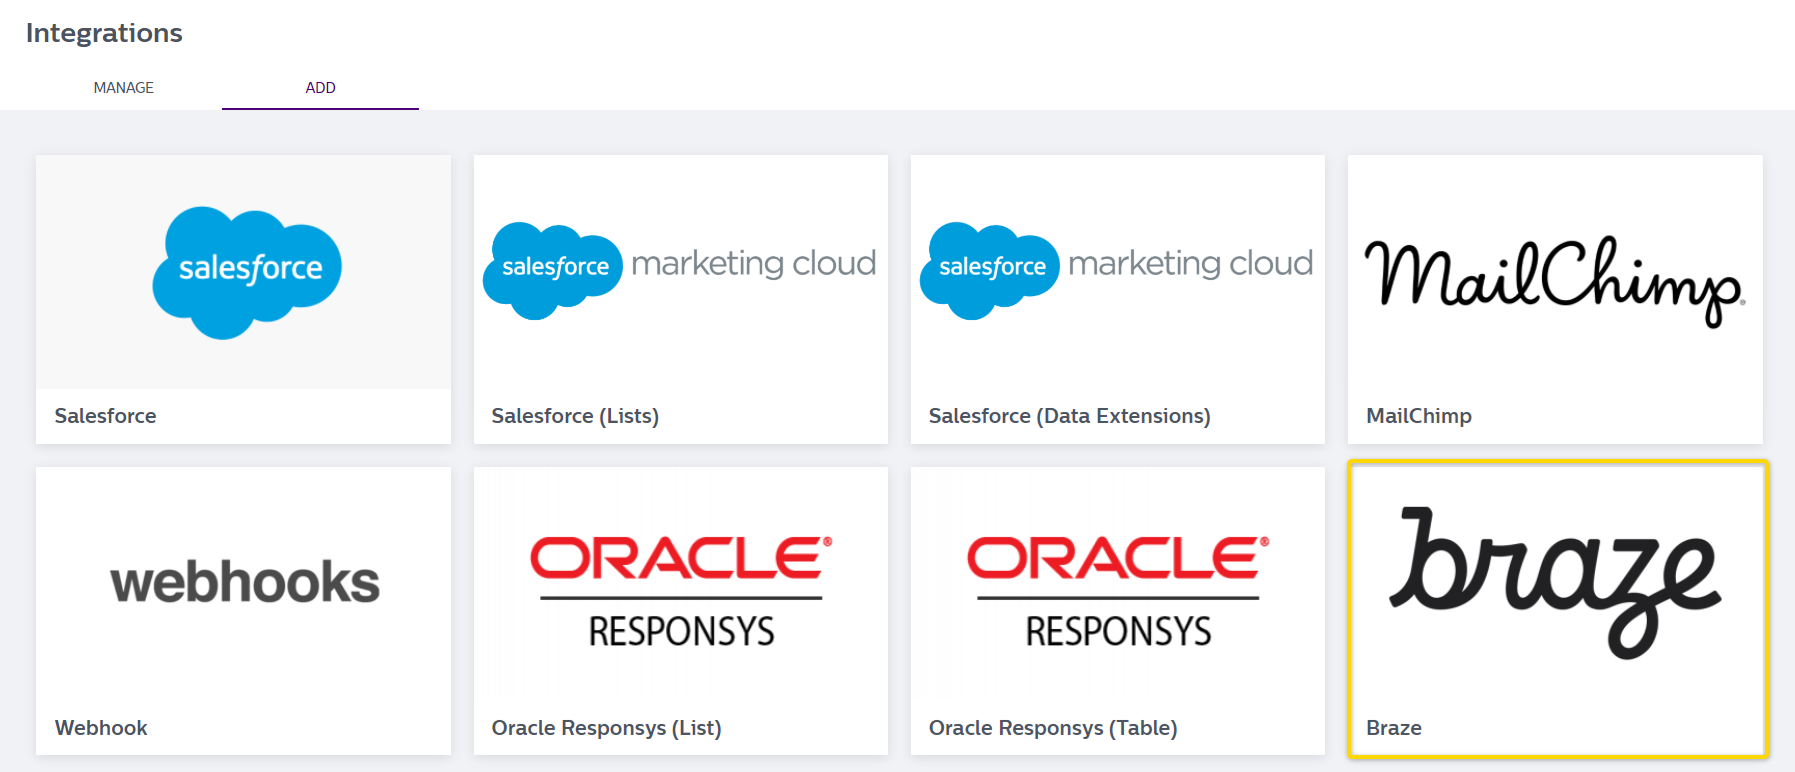
In Wyng, go to Integrations and select the Add tab. Next, hover over Braze and click Connect for the integration.

Step 2: Configure the Braze connector
- In the configuration window that opens, provide your Braze REST API key.

- Next, use the dropdown to select the Wyng campaign you would like to share with Braze.

- Next, you must set up subscriptions, attribute and event objects, and custom events.
- Subscriptions setup (required)
To subscribe users to subscription groups, click Add Subscription and add your subscription group name and ID. To add multiple group names and IDs, click the Add Subscription button again.
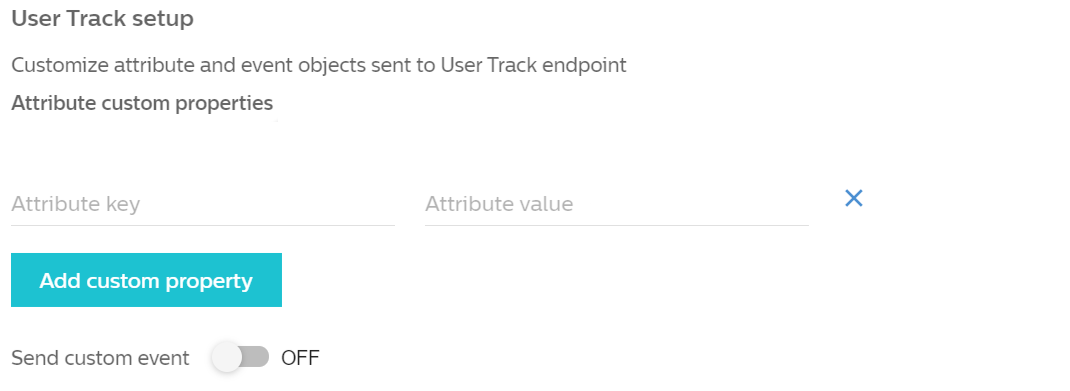
- User track setup
Click Add custom property to add attribute and event object pairs to send to the/users/trackendpoint. Use this to add hard-coded attribute values for each data transaction sent for the integration. To add multiple properties, click the Add custom property button again.
- Send custom event
Optionally, you can enable Sending custom event. If enabled, you should include the event name and corresponding app ID.
- Subscriptions setup (required)
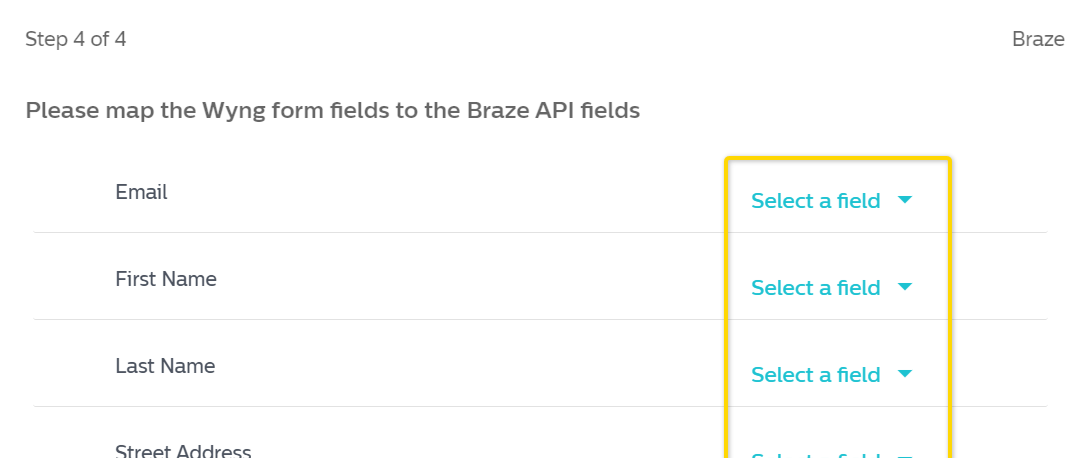
- Lastly, you must map Wyng fields to Braze API fields based on your use case. Click Select a field to choose fields to map, and afterwards, Save your integration. When saved, these mapped fields can be found under Integrations > Manage.


Step 3: Test your integration
In Wyng, test submitting the form in your Wyng campaign. You can also submit it in the preview campaign if you do not want to add a record to the main production campaign. You should see a successful transaction in the Integration dashboard.
Using this integration
Once the data connector is in place, any fields created in Wyng and added to Braze can be used just like any other data field to trigger campaigns, segment audiences, or feed personalized content.
Applications are broad, and specific questions can be addressed to [email protected] or your specific account manager.
Troubleshooting
Failed submission
In the case of a failed submission, when sending data to Braze, click on the View Log link to review the failed submission and the associated error message.

The log page will show the failed submission, retry count, data from the submission, error, and a link to re-push the submission.

The View Error section will show the error code and some additional information about the cause of the error. You can then cross-reference the error code with Braze to determine the cause.

If you have any additional questions, reach out to Wyng support ([email protected]) for assistance.
 Edit this page on GitHub