Segment Engage
Segment is a customer data platform that helps you collect, clean, and activate your customer data. This reference article will give an overview of the connection between Braze and Segment Engage, as well as describe requirements and processes for proper implementation and usage.
The Braze and Segment integration allows you to use Engage, Segment’s built-in audience builder, to create segments of users based on data you have already collected across various sources. These audiences will then be synced to Braze as a cohort, or denoted on the user profile through custom attributes or custom events that can be used to create Braze segments to use in campaign and Canvas retargeting.
Prerequisites
| Requirement | Description |
|---|---|
| Segment account | A Segment account is required to take advantage of this partnership. |
| Braze Cloud destination | You must have already set up Braze as a destination in your Segment integration. This includes providing the correct Braze data center and REST API key in your connection settings. |
| Braze data import key | To sync Engage audiences to Braze as cohorts, you must generate a Data Import key. Cohort import is in early access, contact your Braze customer success manager to get access to this feature. |
Cohorts Destination integration
Step 1: Create an Engage audience
- In Segment, navigate to the Audiences tab in Engage, and click New.
- Create your audience. A lightning bolt in the top corner of the page will indicate if the audience updates in real-time.
- Next, select Braze as your destination.
- Preview your audience by clicking Review & Create. By default, Segment queries all historical data to set the current value of the computed trait and audience. To omit this data, uncheck Historical Backfill.
Step 2: Capture your cohort data import key
In Braze, navigate to Partner Integrations > Technology Partners and select Segment.
Here, you will find your REST endpoint and generate your Braze data import key. After the key is generated, you can create a new key or invalidate an existing one.
Step 3: Connect the Braze Cohorts Destination
Follow Segment’s instructions on setting up the Cohorts Destination to sync your Engage audiences as cohorts to Braze.
Step 4: Create a Braze segment from the Engage audience
In Braze, navigate to Segments, create a new segment, and select Segment Cohorts as your filter. From here, you can choose which Segment cohort you wish to include. After the Segment cohort segment is created, you can select it as an audience filter when creating a campaign or Canvas.

Cloud Mode integration
Step 1: Create a Segment computed trait or audience
- In Segment, navigate to the Computed Traits or Audiences tab in Engage, and click New.
- Create your computed trait or audience. A lightning bolt in the top corner of the page will indicate if the computation updates in real-time.
- Next, select Braze as your destination.
- Preview your audience by clicking Review & Create. By default, Segment queries all historical data to set the current value of the computed trait and audience. To omit this data, uncheck Historical Backfill.
- In the computed trait or audience settings, adjust the connection settings based on how you would like your data sent to Braze.
Computed traits and audiences
Computed traits and audiences can be sent to Braze as custom attributes or custom events.
- Traits and audiences sent using the
identifycall will appear in Braze as custom attributes. - Traits and audiences sent using the
trackcall will appear in Braze as custom events.
You can choose which method to use (or choose to use both) when you connect the computed trait to the Braze destination.
You can send computed traits and audiences to Braze as identify calls to create custom attributes in Braze.
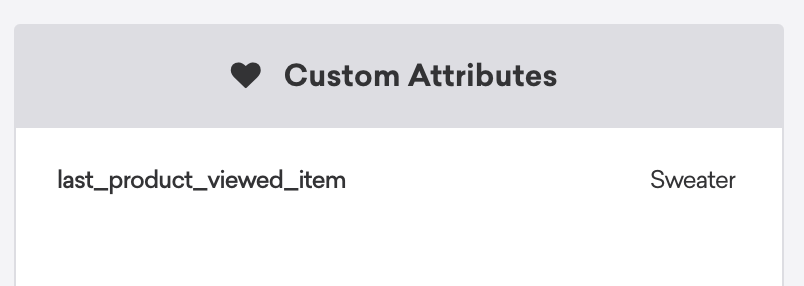
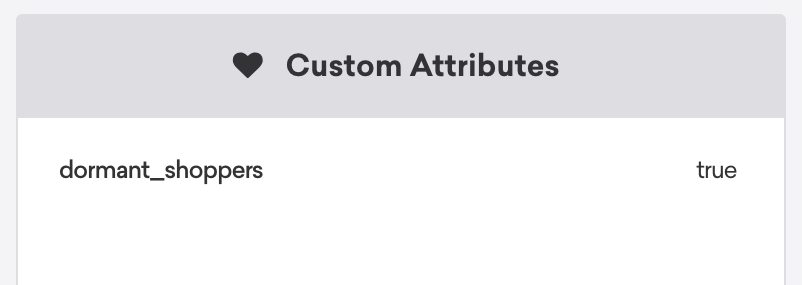
For example, if you have an Engage computed trait for “Last Product Viewed Item,” you would find last_product_viewed_item in the user’s Braze profile under Custom Attributes. If this were instead an Engage audience, you would find your audience listed under Custom Attributes set as true.
| Computed Trait | Audiences |
|---|---|
 |
 |
You can send computed traits and audiences to Braze as track calls to create custom events in Braze.
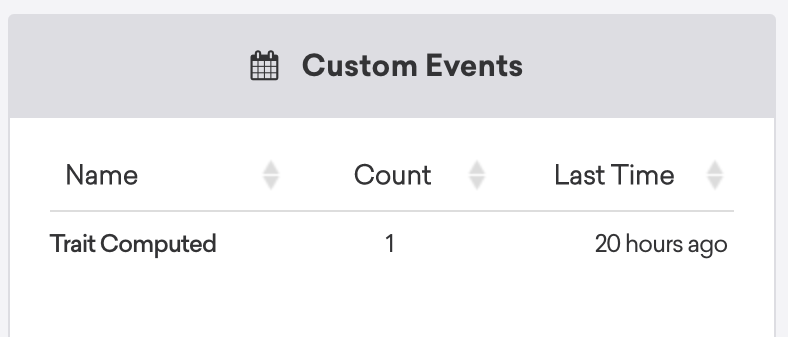
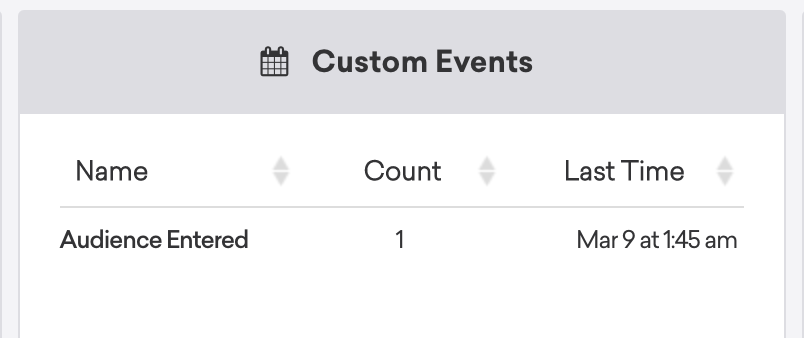
Continuing the previous example, if a user has a computed trait for “Last Product Viewed Item”, it will appear on users’ Braze profiles as Trait Computed with the corresponding count and most recent timestamp under Custom Events. If this were instead an Engage audience, you would find your audience, count, and most recent timestamp listed under Custom Attributes set as true.
| Computed Trait | Audiences |
|---|---|
 |
 |
Step 2: Segment users in Braze
In Braze, to create a segment of these users, navigate to Segments under Engagement, create a new segment, and name your segment. Next, based on which call you used:
- Identify: Select custom attribute as the filter and locate your custom attribute. Next, use the “matches regex” option (trait) or the “equals” option (audience) and input the appropriate variable.
- Track: Select custom event as the filter and locate your custom event. Next, use the “more than”, “less than”, or “exactly” option, and insert your desired value. This will depend on how you want to define your segment.
Once saved, you can reference this segment during Canvas or campaign creation in the targeting users step.
Sync time
Though the default setting for the Braze to Segment Engage connection is Realtime, there are some filters that will disqualify the persona from syncing in real-time, including some time-based filters which restrict your audience’s size at the time of message send.
Segment debugger testing
Segment’s dashboard provides a “Debugger” feature that allows customers to test whether data from a “Source” is transferring to a “Destination” as expected.
This feature connects to the Braze /users/track endpoint, meaning that it can only be used for identified users (users who already have a user ID for their Braze user profile).
This will not work for a side-by-side Braze integration. No server data will go through if you haven’t input the correct Braze REST API information.
 Edit this page on GitHub